
Introduction
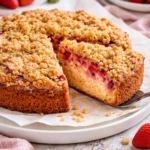
There’s something undeniably magical about the arrival of spring, especially when it comes to the vibrant, tangy allure of rhubarb. For me, the first bite of a dessert featuring this colorful vegetable brings back cherished memories of sunny afternoons spent in my grandmother’s kitchen. She would whip up her famous Rhubarb Dream Bars, filling the air with a comforting aroma of sweet and tart. This recipe has become a beloved family favorite, perfect for sharing at gatherings or enjoying on a cozy night at home. Join me as I guide you through this easy recipe that’ll quickly become a staple in your home.
Why You’ll Love This Recipe
You may also like


Daily Calorie Calculator
Want to know how many calories you need each day for maintenance, weight loss, or weight gain? Use our free calculator and get your estimate in seconds.
Try the CalculatorRhubarb Dream Bars are so much more than just a dessert; they are a delightful experience. Here’s why you’ll fall head over heels for this recipe:
- Comforting and Nostalgic: They evoke memories of family dinners and sunny afternoons.
- Versatile Treat: Perfect for spring gatherings or cozy nights in.
- Quick and Easy: Simple steps mean you can have these bars ready in no time, even faster than takeout!
- Delicious Flavor Profiles: The combination of sweet and tangy fills every bite.
- Family-Friendly: A delightful way to get kids excited about trying a unique ingredient.
Ingredients
To create your Rhubarb Dream Bars, you’ll need a handful of ingredients that come together harmoniously. Here’s what you’ll need:
- Fresh rhubarb (3 cups, chopped) – Provides the tangy base for your bars.
- Granulated sugar (1 ½ cups) – Balances the tartness of the rhubarb.
- All-purpose flour (1 ½ cups) – Creates the lovely crust and filling texture.
- Butter (½ cup, softened) – Adds richness and flavor.
- Eggs (2) – Binds the ingredients together for a luscious filling.
- Vanilla extract (1 teaspoon) – Enhances the sweetness with a warm aroma.
- Salt (½ teaspoon) – A necessary addition to heighten flavors.
Substitutions: You can swap the granulated sugar for coconut sugar if you prefer a healthier option, or use rolled oats for a gluten-free crust. Explore and make it your own!
Daily Calorie Calculator
Want to know how many calories you need each day for maintenance, weight loss, or weight gain? Use our free calculator and get your estimate in seconds.
Try the CalculatorTiming
One of the best parts about Rhubarb Dream Bars is how quickly they come together:
- Prep time: 15 minutes
- Cook time: 40 minutes
- Total time: 55 minutes
Trust me, this indulgent dessert is well worth every minute spent in the kitchen, especially when you see the smiles on your loved ones’ faces!
Step-by-Step Instructions
- Preheat your oven: Start by preheating your oven to 350°F (175°C). This ensures your bars bake evenly.
- Prepare the baking dish: Grease a 9×13-inch baking dish with some butter to prevent sticking, or line it with parchment paper for easy cleanup.
- Make the crust: In a mixing bowl, combine 1 cup of flour, ½ cup of sugar, and melted butter. Mix until crumbly, and press firmly into the prepared baking dish. Bake for 15 minutes until golden and firm.
- Prepare the filling: In another bowl, beat the eggs, then add 1 cup of sugar, the remaining flour, salt, vanilla extract, and chopped rhubarb. Mix until well combined.
- Combine and bake: Pour the rhubarb filling over the pre-baked crust, spreading it evenly. Bake for another 25 to 30 minutes, or until the filling is set and slightly golden.
- Cool and serve: Allow the bars to cool completely before slicing. Dust with powdered sugar for a pretty presentation and a touch of sweetness.
Your kitchen will smell amazing at this point, and you won’t be able to resist taking a peek at this colorful creation!
Tips and Variations
Feel free to get creative with your Rhubarb Dream Bars! Here are some ideas to elevate your baking experience:
- Add a Twist: Toss in a few strawberries or blueberries to balance the tartness of the rhubarb, giving a lovely color and flavor combo.
- Spice It Up: A pinch of cinnamon or nutmeg can offer an extra layer of warmth.
- Healthier Option: Substitute half the sugar with honey or maple syrup for a natural sweetness.
Remember, this recipe is as flexible as your imagination allows!
Serving Suggestions
Picture this: your freshly baked Rhubarb Dream Bars are set on the table. Pair them with a scoop of vanilla ice cream, or serve them alongside a warm cup of tea or coffee. They are perfect for spring picnics and can enliven your brunch table too! Whatever occasion you choose, these bars will surely leave a lasting impression.
Storage and Make-Ahead Tips
Got leftovers? No problem! The Rhubarb Dream Bars can be stored in an airtight container in the fridge for up to a week. They can also be frozen for up to three months. Just make sure to wrap them well in plastic wrap and foil before popping them in the freezer. When you’re ready to enjoy them again, just let them thaw in the fridge overnight or on the counter for a few hours.
Pro Tips from the Kitchen
- Choose Your Rhubarb Wisely: Look for firm, bright stalks at the market for the best flavor.
- Don’t Overbake: Keeping an eye on your bars while baking will prevent them from becoming too firm.
- For an Elegant Touch: Consider glazing them with a light lemon glaze to enhance their flavor even more.
FAQs

What if I don’t have fresh rhubarb?
While fresh rhubarb is preferred for its tartness, you can use frozen rhubarb. Just make sure to thaw and drain any excess moisture.
Can I make these bars gluten-free?
Absolutely! Swap out the all-purpose flour for a gluten-free baking blend, and you’re good to go.
How do I know when they are done?
You’ll know they are ready when the filling is set and slightly jiggles when you shake the pan gently.
Conclusion
Rhubarb Dream Bars aren’t just a simple dessert; they are a delightful celebration of spring that brings together sweetness, tanginess, and cozy feelings. Whether you’re sharing them with loved ones or savoring them during a quiet moment, I hope these bars weave their way into your family traditions, just as they have in mine. I encourage you to try your hand at this recipe and share the joy of Rhubarb Dream Bars with those around you. Happy baking!

Contents
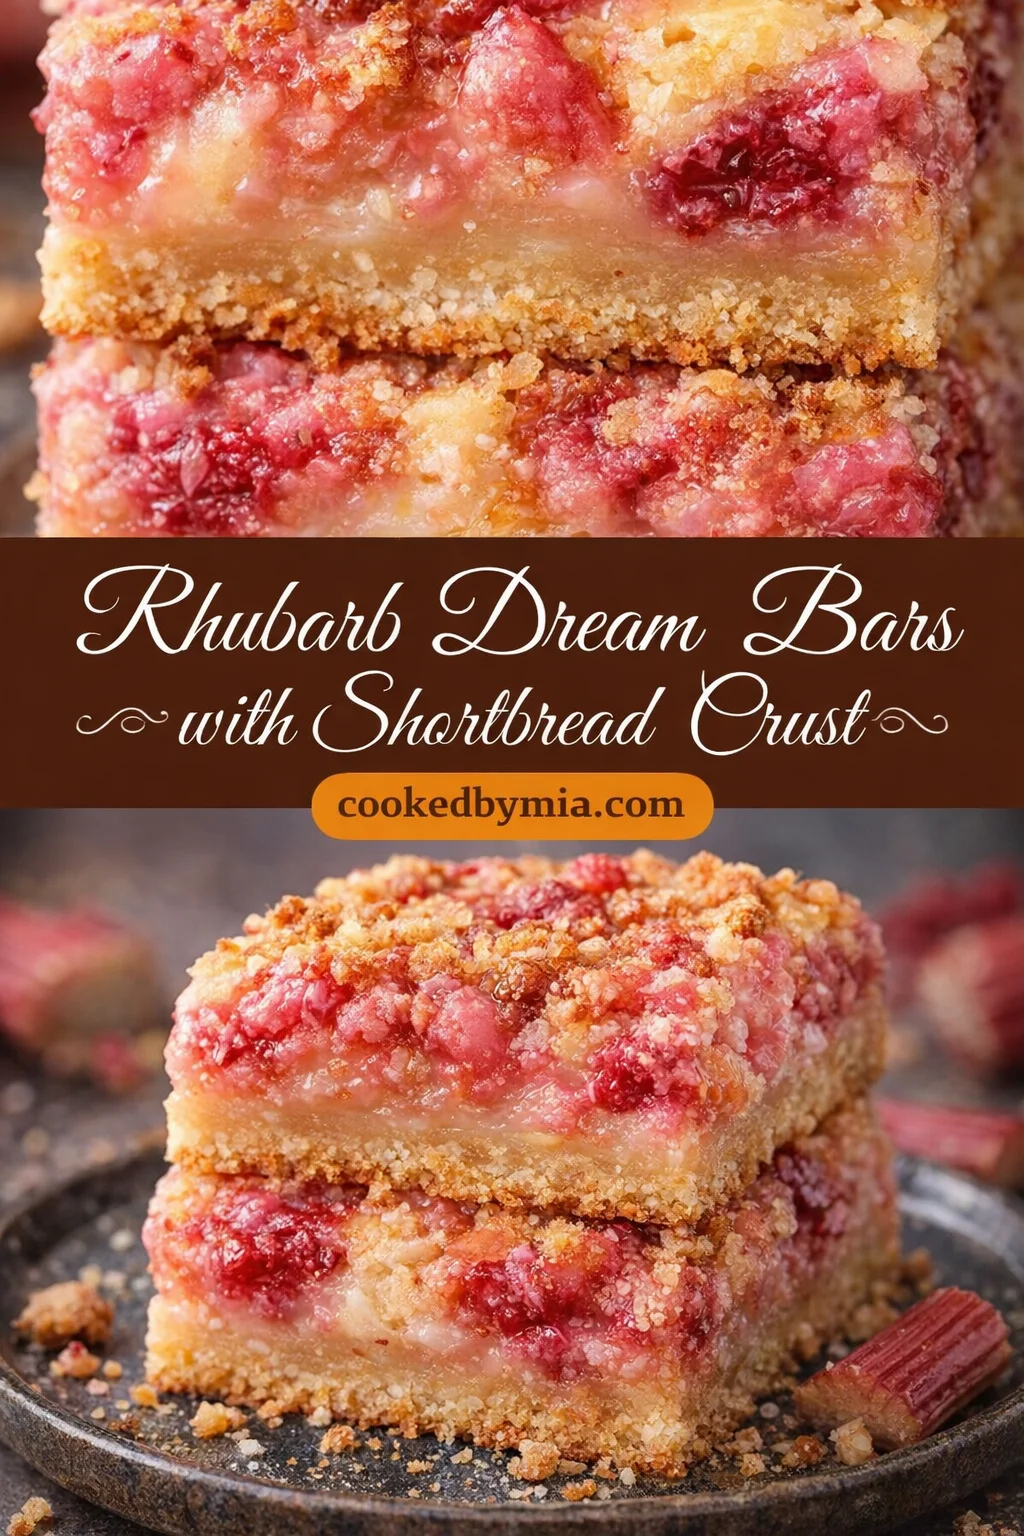
Rhubarb Dream Bars
Ingredients
For the crust
- 1 cup all-purpose flour For the crust
- ½ cup granulated sugar For the crust
- ½ cup butter Softened, for the crust
For the filling
- 3 cups fresh rhubarb Chopped
- 1½ cups granulated sugar Balances the tartness
- 1½ cups all-purpose flour For the filling
- 2 eggs Binds the filling
- 1 teaspoon vanilla extract Enhances sweetness
- ½ teaspoon salt To heighten flavors
Instructions
Preparation
- Preheat your oven to 350°F (175°C).
- Grease a 9x13-inch baking dish with some butter or line it with parchment paper.
Crust Making
- In a mixing bowl, combine 1 cup of flour, ½ cup of sugar, and melted butter. Mix until crumbly, and press firmly into the prepared baking dish.
- Bake for 15 minutes until golden and firm.
Filling Preparation
- In another bowl, beat the eggs, then add 1 cup of sugar, the remaining flour, salt, vanilla extract, and chopped rhubarb.
- Mix until well combined.
Combine and Bake
- Pour the rhubarb filling over the pre-baked crust, spreading it evenly.
- Bake for another 25 to 30 minutes, or until the filling is set and slightly golden.
Cooling
- Allow the bars to cool completely before slicing.
- Dust with powdered sugar for a pretty presentation.
Notes
Written by Salaheddine — founder of Tasty Sunrise, sharing easy and comforting homemade recipes for every occasion.