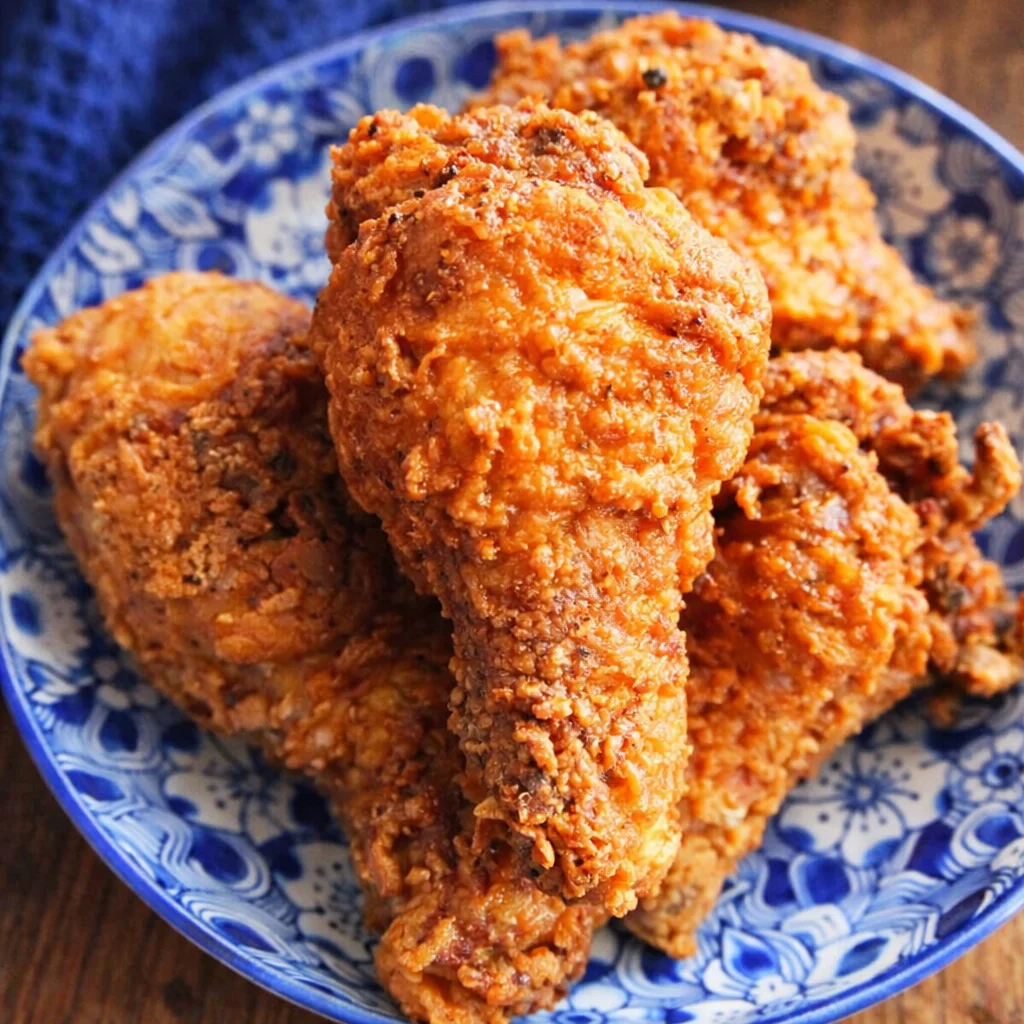
crispy chicken recipes at home sound amazing until you are standing in your kitchen thinking, why does mine turn out soggy? I have been there, hungry, impatient, and staring at a sad plate of chicken that is more soft than crunchy. The good news is that you do not need a deep fryer the size of a suitcase or secret restaurant magic. You just need the right setup, a few smart ingredient choices, and a couple of simple habits that make a big difference. Let me walk you through how I make my go to crispy chicken, plus some fun variations when I want to switch things up.
Contents
- 1 Equipment Needed for Making Crispy Chicken
- 2 Must-Have Ingredients for Crispy Chicken
- 3 Techniques for Achieving Perfectly Crispy Chicken
- 4 Tips for Storing and Reheating Fried Chicken
- 5 Variations on the Crispy Chicken Recipe
- 6 Common Questions
- 7 A crunchy dinner you can totally pull off
- 8 Crispy Chicken
Equipment Needed for Making Crispy Chicken
You can make seriously crunchy chicken with basic kitchen tools. I used to think you needed fancy gadgets, but you really do not. What matters is controlling heat, letting the coating set, and giving the chicken room to breathe while it cooks.
You may also like


Daily Calorie Calculator
Want to know how many calories you need each day for maintenance, weight loss, or weight gain? Use our free calculator and get your estimate in seconds.
Try the CalculatorHere is what I actually reach for when I am making crispy chicken recipes at home:
- A heavy skillet or Dutch oven for steady heat. Cast iron is great, but anything heavy works.
- Instant read thermometer so you do not guess. Chicken is done at 165 F inside.
- Wire rack and sheet pan for resting the coated chicken and for draining after frying or baking.
- Tongs because forks poke holes and you lose juices.
- Two shallow bowls for dredging, one for wet and one for dry.
If you are baking instead of frying, a wire rack on top of a sheet pan is my favorite trick. It keeps hot air moving around the chicken so the bottom does not steam and get soft. Also, do not skip the thermometer. It is the easiest way to stay confident and safe.
On busy nights when I want crispy vibes but not a whole frying situation, I lean into comfort bakes too. This cheesy chicken tater tot bake is one of those crowd pleasers that still gives you golden edges without babysitting a pot of oil.
Must-Have Ingredients for Crispy Chicken
The ingredients do not need to be complicated, but the combination matters. I am going to share what gives me that crackly bite and keeps the chicken juicy inside. The big idea is simple: season every layer, and use a coating that can crisp up.
Daily Calorie Calculator
Want to know how many calories you need each day for maintenance, weight loss, or weight gain? Use our free calculator and get your estimate in seconds.
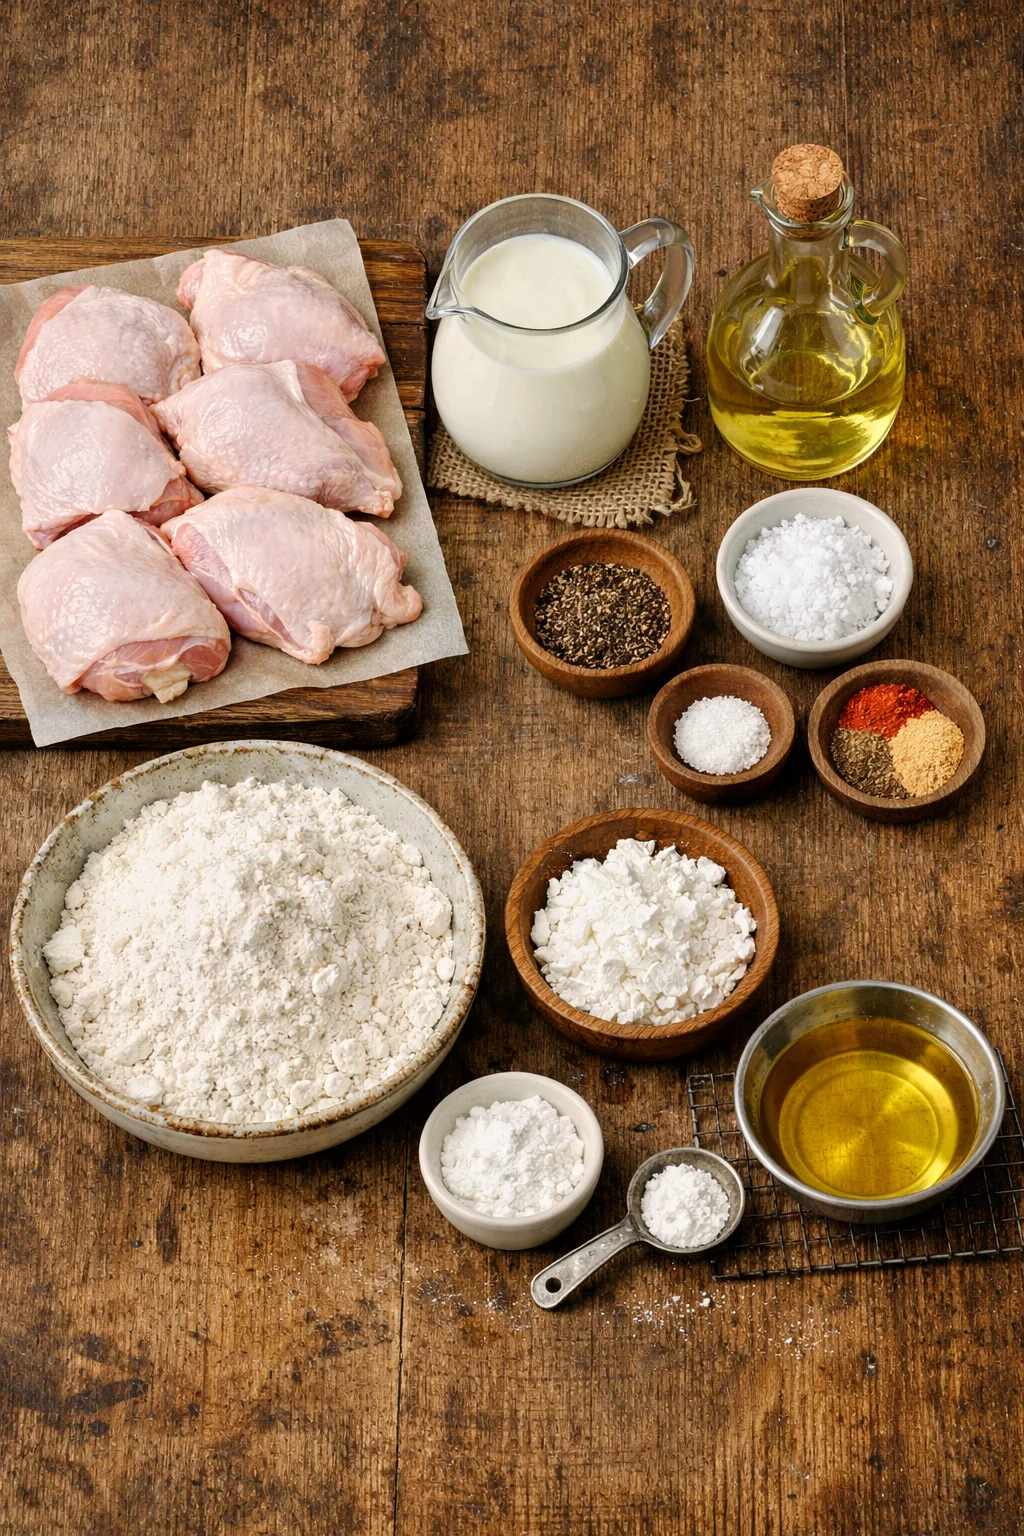
Try the CalculatorMy go to crispy chicken ingredient list
- Chicken: thighs for juiciness, breasts if you like leaner. Tenders are easiest for quick cooking.
- Buttermilk (or plain yogurt thinned with a splash of milk): helps tenderize and helps coating stick.
- Flour: the base for a classic crust.
- Cornstarch: my not so secret weapon for extra crispiness.
- Seasonings: salt, pepper, garlic powder, paprika. Add cayenne if you like heat.
- Baking powder: a little bit in the flour mix makes tiny bubbles and a lighter crunch.
- Oil: for frying, use something neutral like canola or peanut oil.
A quick note on salt: I salt the buttermilk marinade and I also season the flour. If you only season one, the chicken can taste flat. And if you love a spicy vibe, I am a huge fan of buffalo style flavors, especially when I want something different than plain fried chicken. You might also like these buffalo chicken meatballs for a game day style twist that still feels crispy and snackable when you crisp them up in the oven.
Also, if you are gluten free, you can still do this. A gluten free all purpose flour plus cornstarch works pretty well. The texture is slightly different, but still crunchy enough to make you happy.
Techniques for Achieving Perfectly Crispy Chicken
This is the part that changed everything for me. The difference between okay chicken and the kind you hear crunch across the table is usually technique, not talent.
My simple method that works every time
First, I marinate the chicken in buttermilk with salt and spices for at least 30 minutes, and up to overnight if I planned ahead. Then I mix flour, cornstarch, baking powder, and seasonings in a wide bowl. I pull chicken from the marinade, let extra drip off, then press it into the flour mix like I mean it. I want little crags and flakes, because those become the crispy bits.
Here are the habits that make crispy chicken recipes at home actually come out crispy:
1. Let the coating rest. After dredging, I set the chicken on a wire rack for 10 to 15 minutes. This helps the coating stick and dry slightly so it fries up crisp instead of sliding off.
2. Do not overcrowd. Cook in batches. If the pan is packed, the oil temperature drops and everything steams.
3. Mind the oil temperature. I aim for about 325 to 350 F. If it is too hot, the coating burns before the chicken cooks. Too cool, and it gets greasy.
4. Flip with care. I flip once or twice, not constantly. Constant moving can knock off the crust.
5. Drain on a rack, not paper towels. Paper towels trap steam. A rack keeps it crisp.
If you are baking, you can still get great results. Spray or brush the coated chicken with oil, then bake on a rack at a hot temp, usually 425 F. Flip once halfway. It will not be exactly the same as frying, but it is shockingly close when you do the rack plus oil trick.
“I tried your cornstarch plus rest time trick and my chicken finally stayed crunchy even after I brought it to a family dinner. Everyone asked what I changed.”
One more practical tip: if you are cooking thicker pieces, finish in the oven after frying to keep the coating from over browning. That is especially helpful if you are making a bigger batch.
Tips for Storing and Reheating Fried Chicken
Leftover fried chicken is a beautiful thing, but only if you store it right. The goal is to avoid moisture buildup, because that is what turns a crisp crust into a soft one.
Storing: Let the chicken cool fully first. Then place it in an airtight container lined with paper towels, but do not seal it while it is still warm. If you stack pieces, put a paper towel between layers. In the fridge, it is best within 2 to 3 days.
Reheating: My favorite method is the oven or air fryer. I set the oven to 400 F and put chicken on a wire rack for 12 to 18 minutes depending on size. In an air fryer, 375 F for 6 to 10 minutes usually does it. I avoid the microwave unless I am truly desperate, because it softens the crust fast.
If you are packing chicken for lunch, keep it separate from sauces until you are ready to eat. Sauce is delicious, but it is basically a crisp killer if it sits too long.
Variations on the Crispy Chicken Recipe
Once you have the basic method down, it is honestly fun to play around. This is where you can make crispy chicken recipes at home feel new every week without learning a whole new recipe.
Easy flavor ideas I actually use
Spicy buffalo style: Toss hot chicken in buffalo sauce and a tiny bit of melted butter, then serve right away. If you want a full meal idea with that flavor, check out this buffalo chicken and potato casserole for a cozy dinner that still hits those spicy, tangy notes.
Garlic parmesan: Mix grated parmesan into the flour, then toss cooked chicken with melted butter and garlic powder. It is messy in the best way.
Lemon pepper: Add lemon zest to the flour mix and finish with a squeeze of lemon right before serving. Bright, easy, and not heavy.
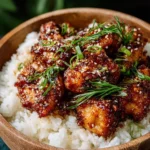
Honey hot: Drizzle warm honey mixed with a little hot sauce over the chicken. Sweet, sticky, and perfect with crunchy edges.
Oven crispy chicken: Use panko mixed with a little oil and seasonings for a lighter crunch, especially good for chicken tenders. It is a weeknight lifesaver.
The one rule for saucy versions is simple: sauce right before eating, not before storing. If you want to keep the crunch, let the chicken be crisp first, then dress it up.
Common Questions
Q: Why does my coating fall off?
A: Usually the chicken is too wet or you skipped the resting time after dredging. Let excess marinade drip, press the flour on firmly, then rest on a rack.
Q: Can I make it without buttermilk?
A: Yes. Use plain yogurt thinned with milk, or milk with a splash of vinegar or lemon juice. Let it sit 5 minutes before using.
Q: How do I know the oil is ready if I do not have a thermometer?
A: Drop a little flour into the oil. If it sizzles right away and bubbles steadily, you are close. If it barely bubbles, wait. If it browns instantly, it is too hot.
Q: What cut of chicken stays the juiciest?
A: Thighs, every time. They are forgiving and stay tender even if you cook them a bit longer.
Q: Can I freeze cooked crispy chicken?
A: You can, but the crust will soften a bit. Freeze on a tray first, then bag it. Reheat in the oven or air fryer to bring back some crunch.
A crunchy dinner you can totally pull off
If you remember just a few things, make it these: season every layer, use cornstarch, let the coating rest, and keep the chicken on a rack after cooking. That combo is what makes crispy chicken recipes at home feel like something you would happily pay for at a restaurant. When you want to branch out, it is worth trying new flavors and methods so you never get bored. I also love picking up ideas from sources like Crispy Sesame Chicken with a Sticky Asian Sauce – Kitchen Sanctuary for that sweet sticky crunch, and this reliable classic Crispy Fried Chicken Recipe + Video – Taste of Home when I want the traditional fried chicken vibe. Now go make a batch, listen for that crunch, and do not be surprised if you start planning the next one before you finish your plate.

Crispy Chicken
Ingredients
Main Ingredients
- 4 pieces Chicken thighs or breasts Thighs for juiciness, breasts for leanness.
- 1 cup Buttermilk or plain yogurt thinned with a splash of milk Helps tenderize and aids in coating sticking.
- 1 cup All-purpose flour Base for the crust.
- 1/4 cup Cornstarch For extra crispiness.
- 1 teaspoon Baking powder Creates tiny bubbles in the crust.
- 1 teaspoon Salt For seasoning.
- 1 teaspoon Pepper For seasoning.
- 1 teaspoon Garlic powder For flavor.
- 1 teaspoon Paprika For flavor.
- some as needed Oil (canola or peanut) For frying.
Instructions
Preparation
- Marinate the chicken in buttermilk with salt and spices for at least 30 minutes, up to overnight.
- Mix flour, cornstarch, baking powder, and seasonings in a wide bowl.
- Remove chicken from the marinade, letting excess drip off, then press it into the flour mix.
- Set the chicken on a wire rack for 10 to 15 minutes to help the coating stick.
Cooking
- Heat oil in a heavy skillet or Dutch oven to between 325 to 350°F.
- Carefully place the chicken in the hot oil, ensuring not to overcrowd the pan.
- Cook until golden brown and crispy, about 8-10 minutes per side.
- Drain cooked chicken on a wire rack.
Notes
Written by Salaheddine — founder of Tasty Sunrise, sharing easy and comforting homemade recipes for every occasion.